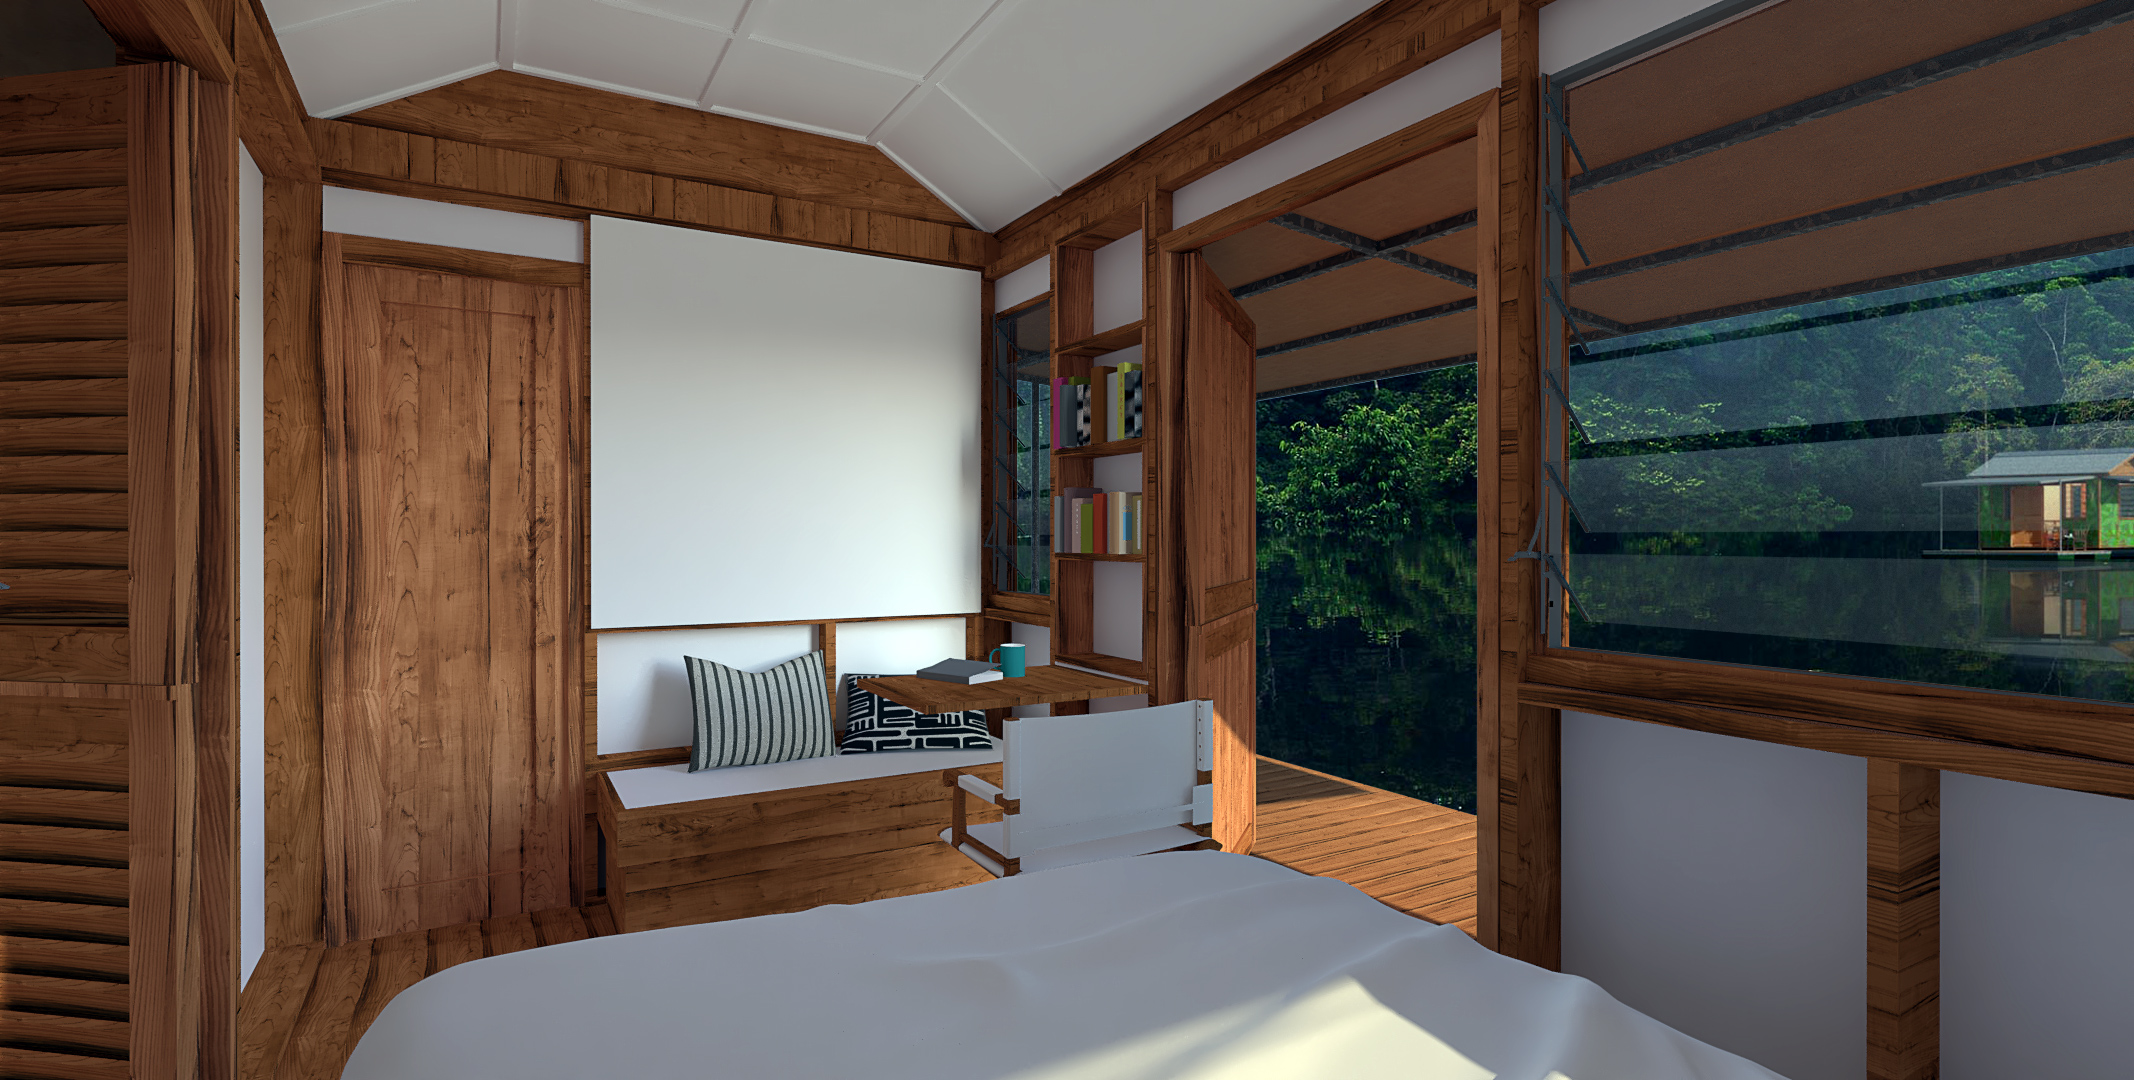
The future of the biological field station is not large fancy lab dropped in the middle of a jungle, but rather a network of mobile laboratories distributed throughout an ecosystem.
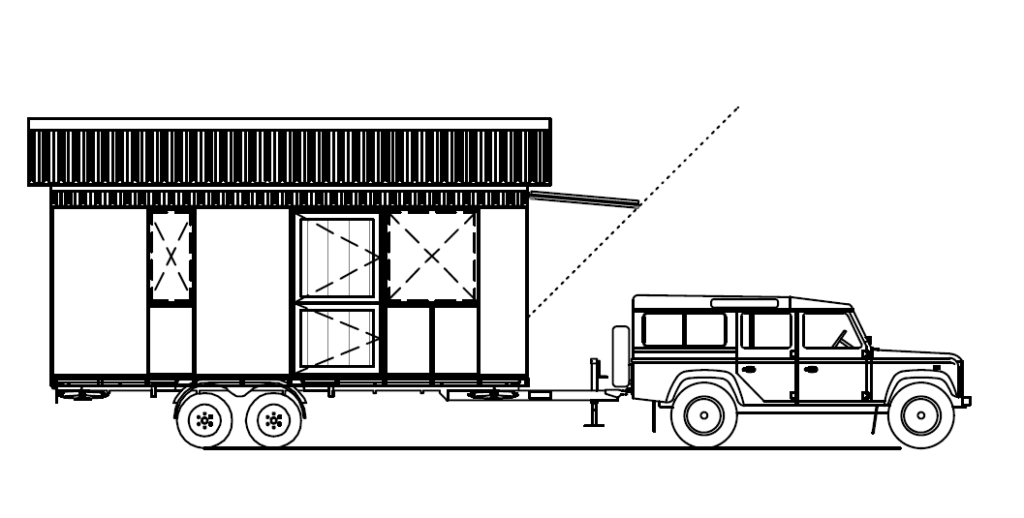
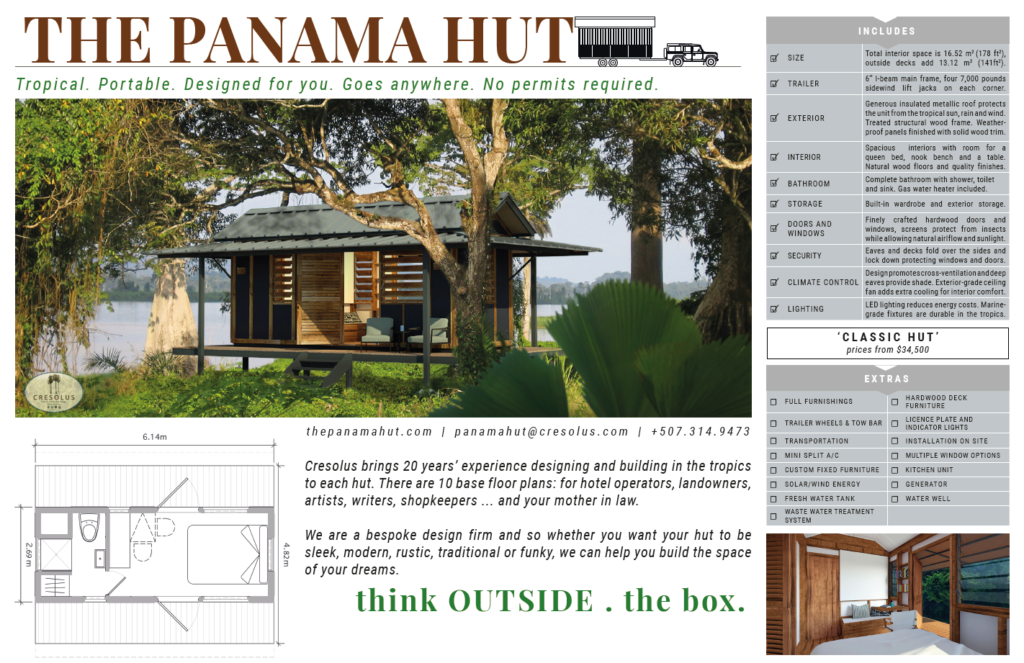
we are combining Digital Naturalism Laboratories’ previous research in Mobile Makerspaces like the Philippines “BOAT Lab” (https://www.youtube.com/watch?v=n0L-SNO4A5w) with the decades of experience that the sustainable architecture firm, Cresolus (https://www.cresolus.com/), has experience building in building tropical architecture like homes and field stations in national parks. We are creating modular, mobile laboratories that scientists can bring directly to their field sites around the world.
What is the challenge?
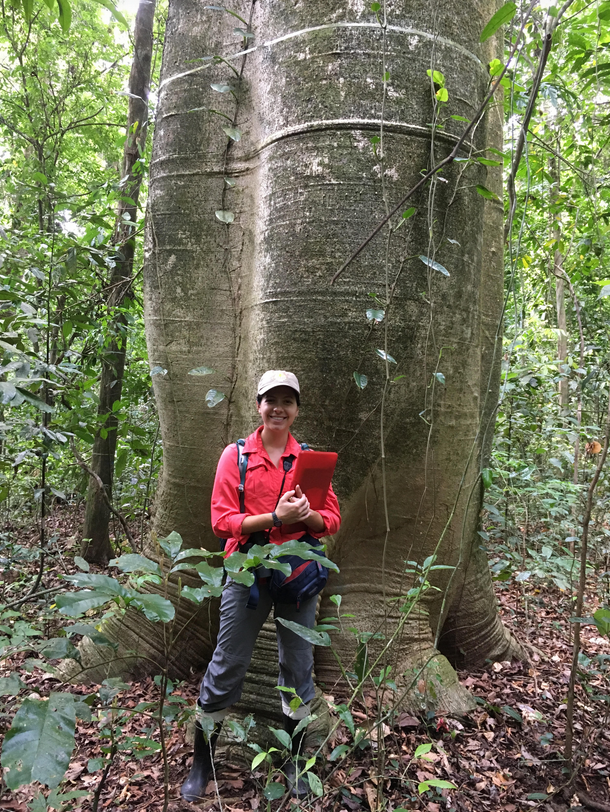
Field biologists and conservationists are faced with a paradox: The goal of their work is to protect and understand natural ecosystems, but the mere act of accessing their field sites generally requires some amount of environmental destruction. Almost all travel for field biology relies on the burning of fossil fuels, which are destructive not only in the original drilling, but also in the pollution they give off into the very environments being studied. Moving vehicles back and forth between field sites also introduces physical destruction and noise pollution to natural areas which may negatively impact the work being done to begin with.
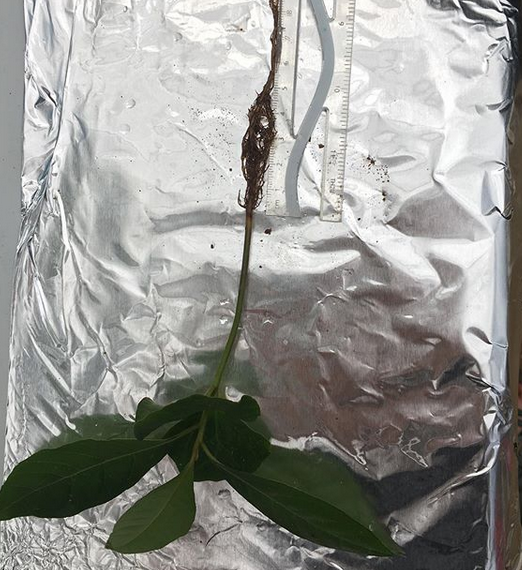
Additionally, most conservationists and field biologists are constrained for time and space by the samples they collect. Researchers need to get to the sites, collect their samples, and get them back to labs for processing within a limited time-window. This means that these trips to field sites are often a constant, daily commute which takes a toll on the environment (as well as the researcher’s and their projects!).
Like a surgeon cutting through healthy flesh to find a disease, these researchers will never be able to completely stop causing some damage to get to the places they study, but we can work to greatly reduce the damage caused.
Instead of having thousands of researchers around the world commuting between field sites just to bring samples back to the laboratory, we think that the whole laboratory should be brought to the field.
One Solution
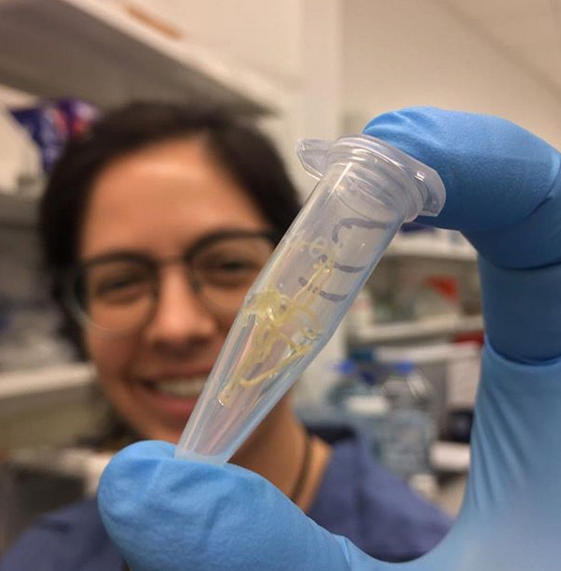
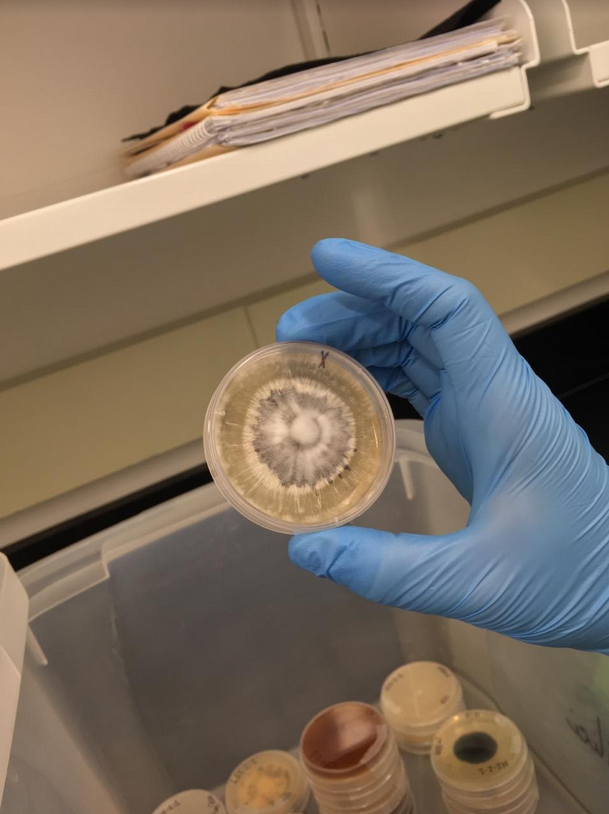
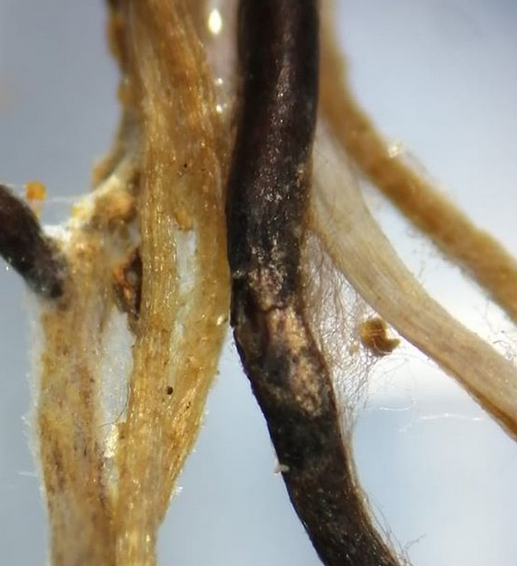
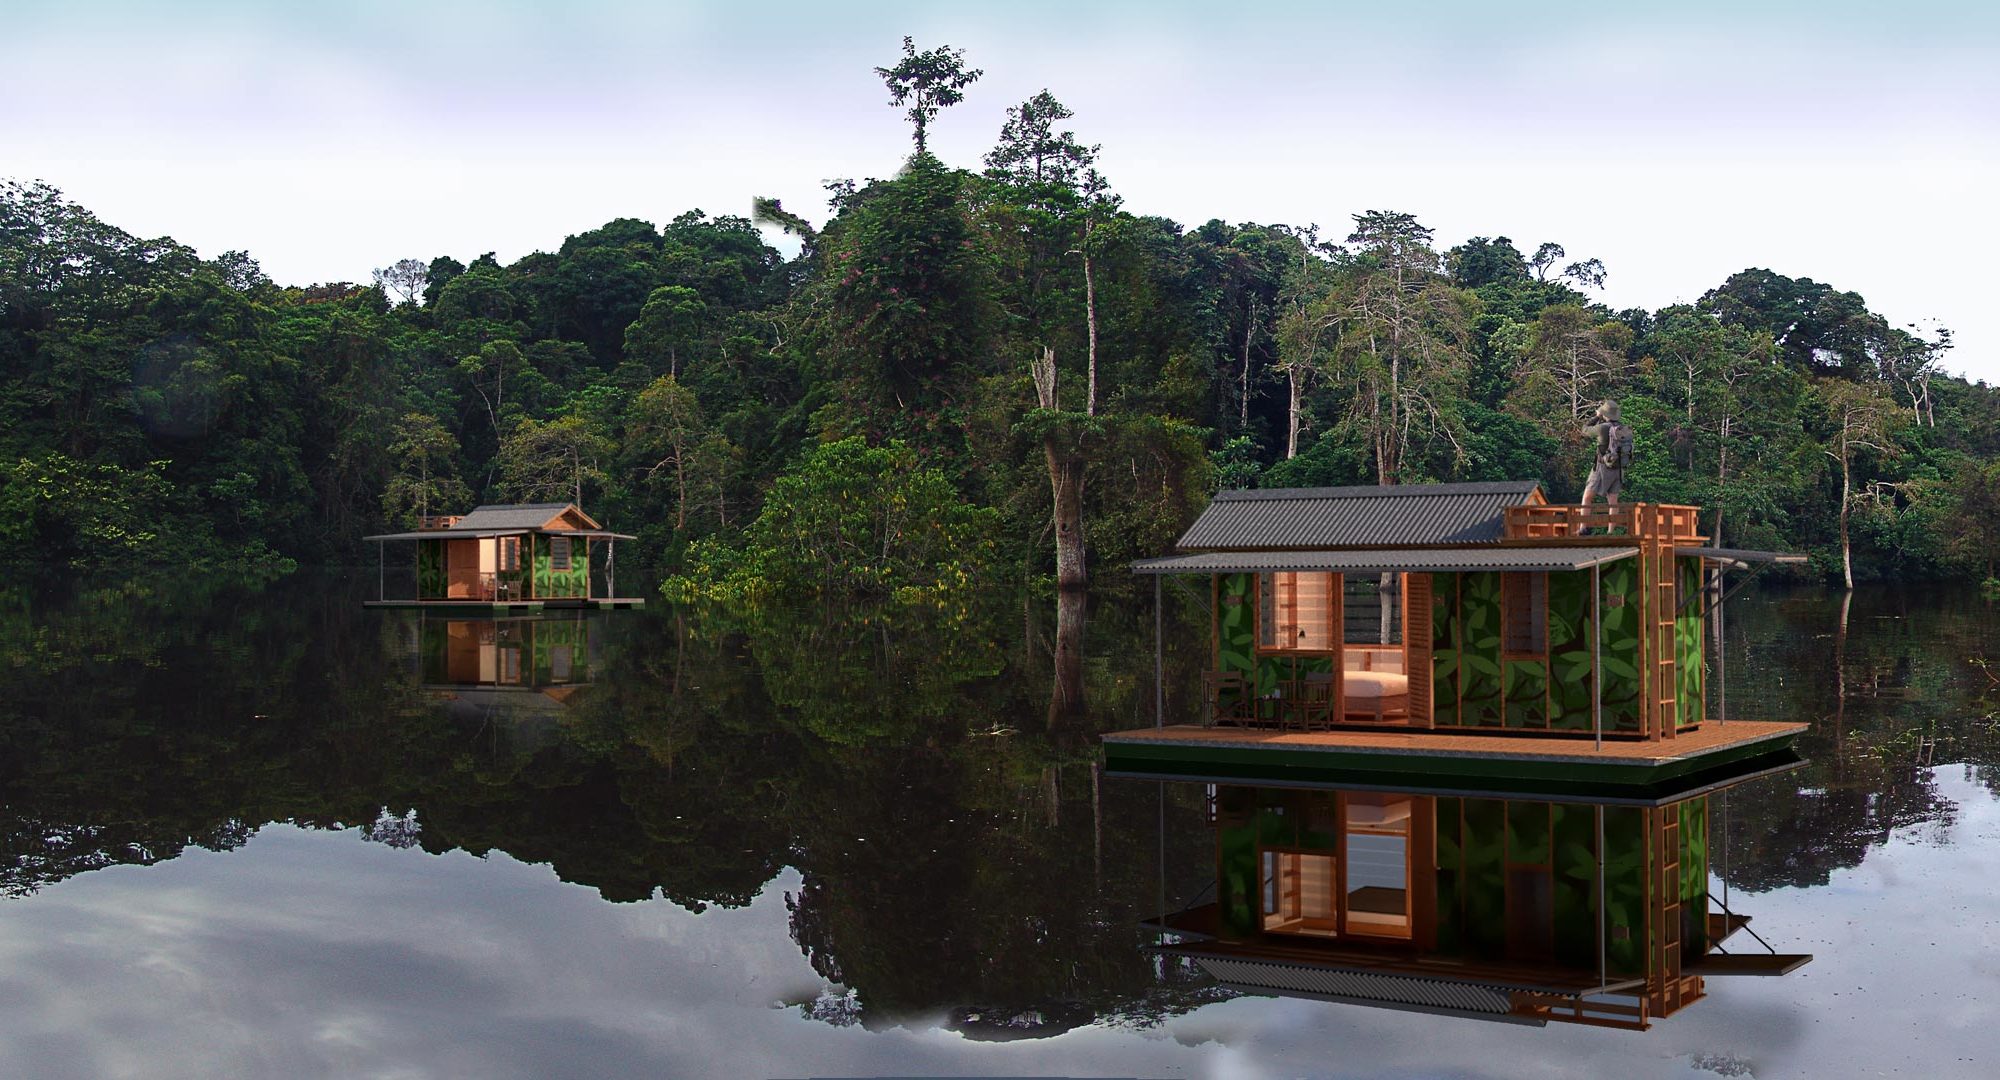
These laboratory “Pods” can be towed or floated to field sites deep in forests or up rivers while withstanding inclement weather or hazardous terrain. Advances in sustainable energy harvesting coupled with the miniaturization of technology means that researchers can process their data and samples on-site (even genetic sampling labs can be miniaturized!). Thus field biologists and conservationists can make fewer unnecessary trips back and forth between the field and lab and increase their productivity while minimizing their own footprint in these areas.
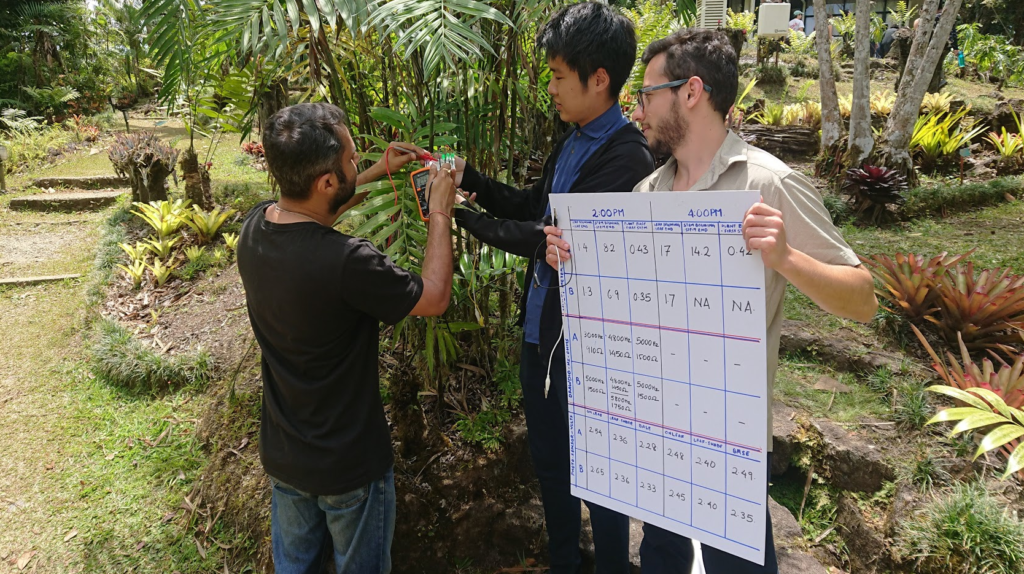
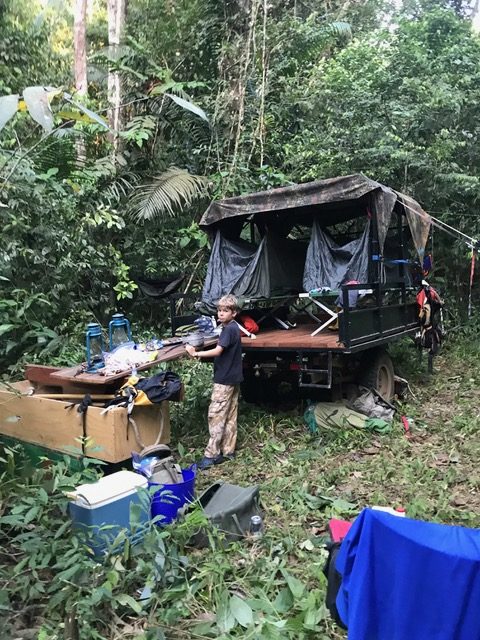
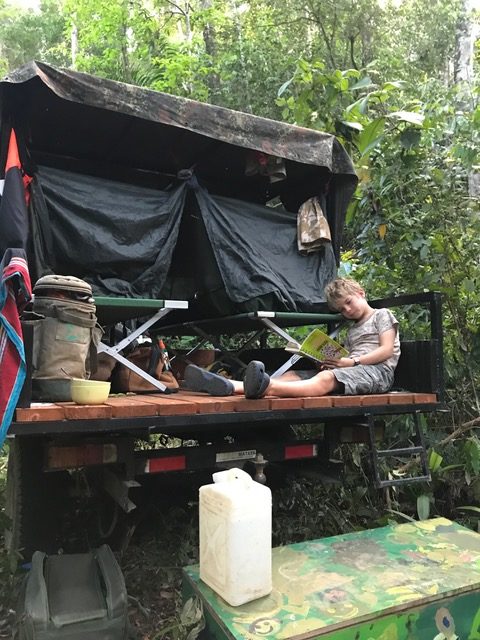
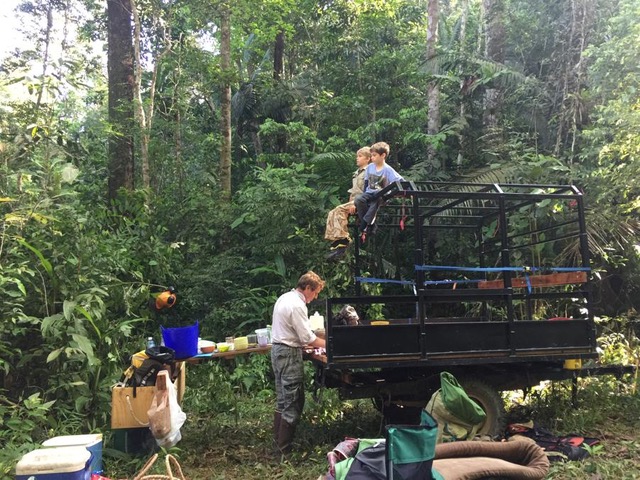
We have already tested functional prototypes of these modular labs with many researchers and conservationists around the world including those from the Smithsonian, National Geographic, and many major universities.
Helping field biologists and conservationists destroy less of the environments they are trying to save and understand.
Key Targets
1. The reduction energy of moving scientists back and forward to labs (your point).
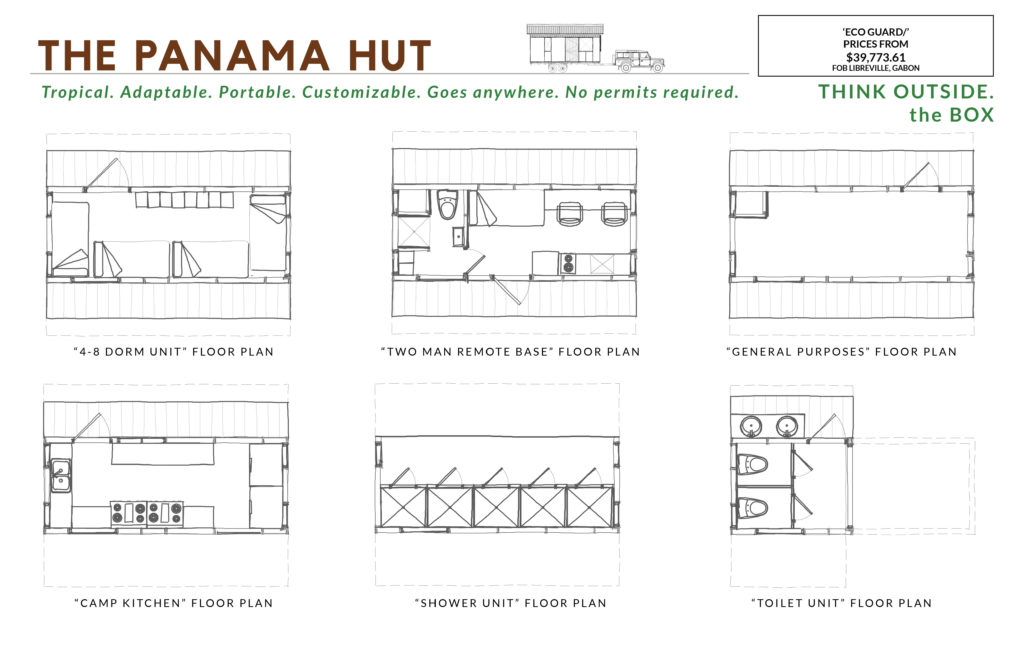
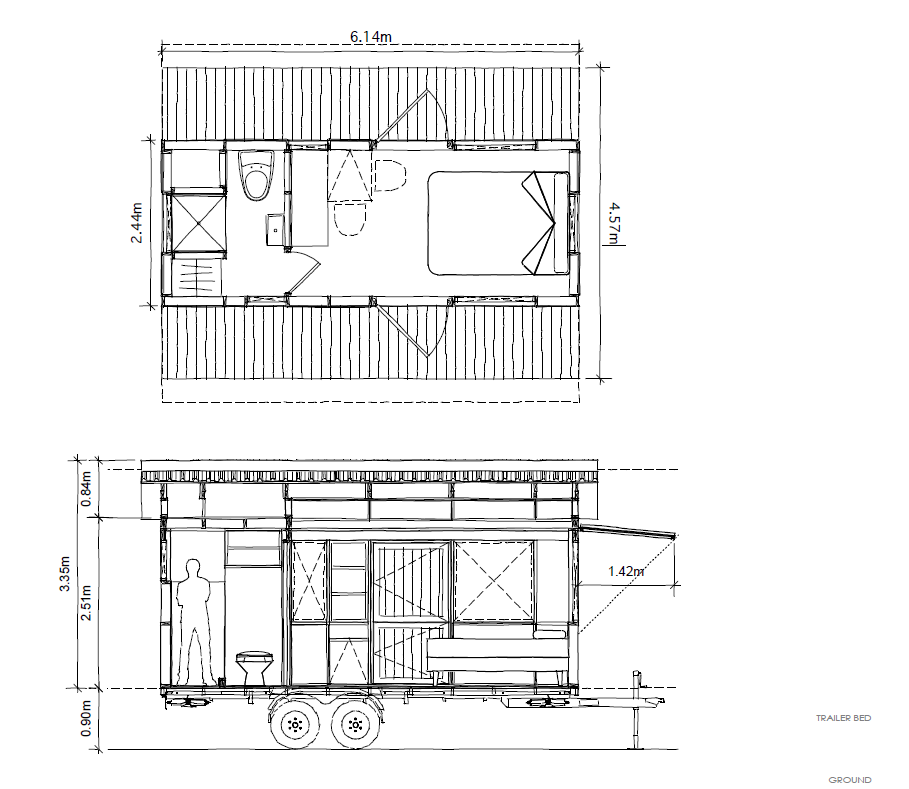
2. The modular lab trailer that can be used multiple times in different configurations therefore reducing the cost of dedicated lab space in a building.
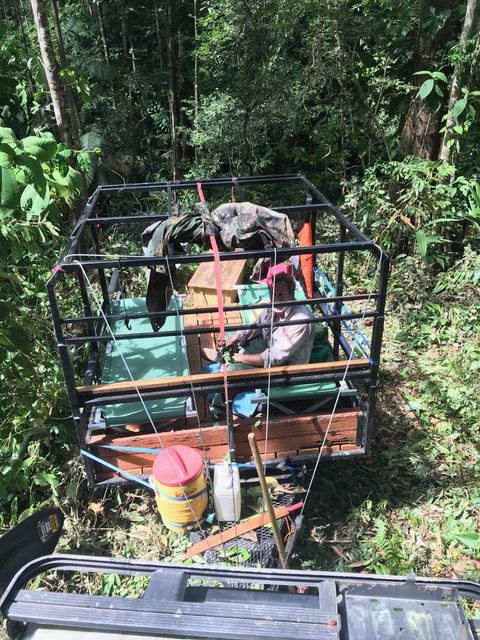
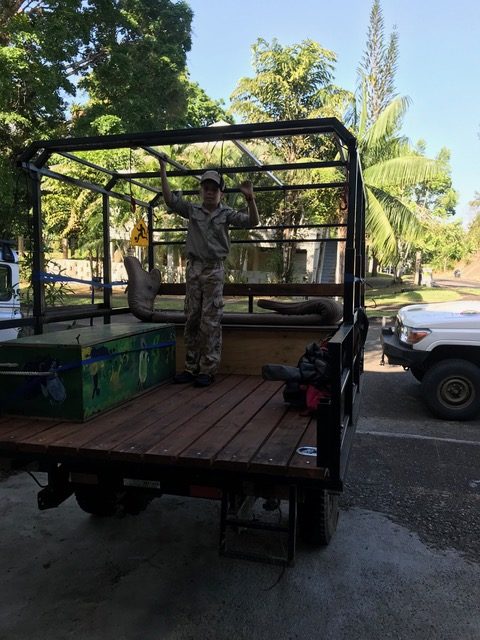
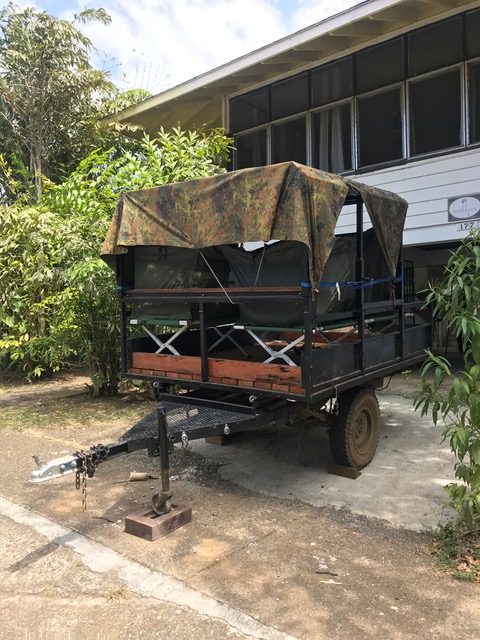
3. The trailer is made from reused car parts (the differential, axel and wheels come from a jeep, the chassis from a Toyota pickup).
4. Because it is a trailer it requires very little energy to move (vehicles would be traveling to site anyway).
5. It allows studies/research to continue for greater length of time (often scientists have to travel to a country multiple times to create their data sets this could help reduce that).
6. Allows scientists to work in tropical conditions more efficiently (ie it could be bug proof and weather proof so they don’t have to leave the site so often)
7. Allows scientists to sleep in the field (Can be adapted to provide accommodation so they don’t have to travel back to sleep somewhere)
Collaboration Inspiration
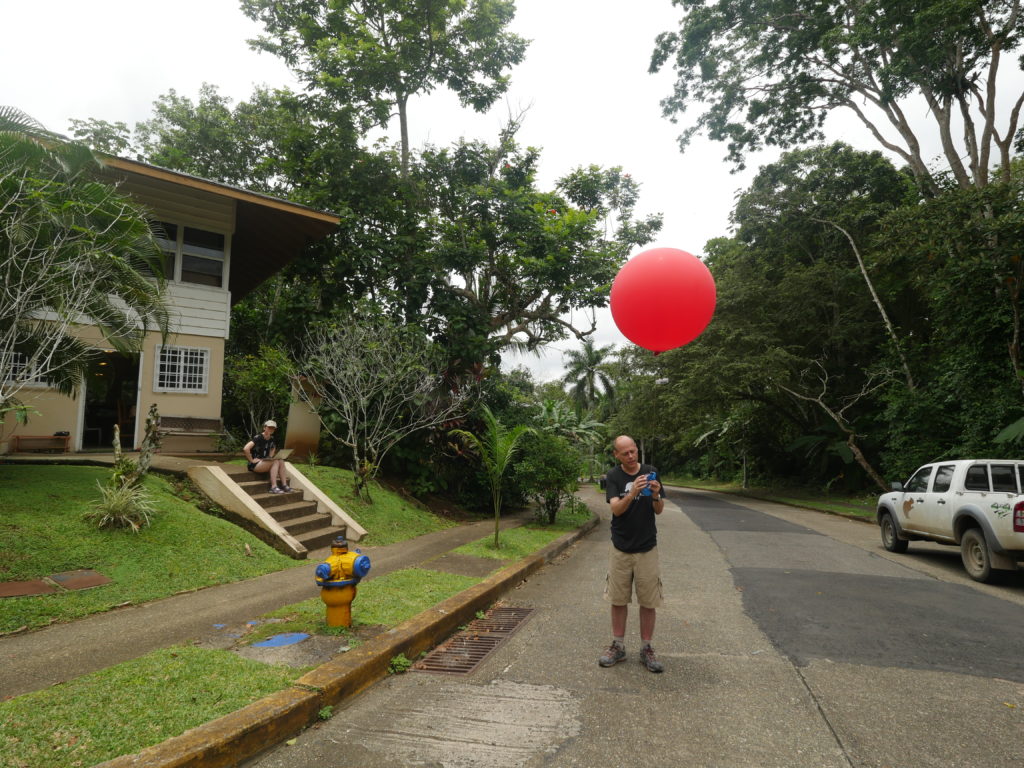
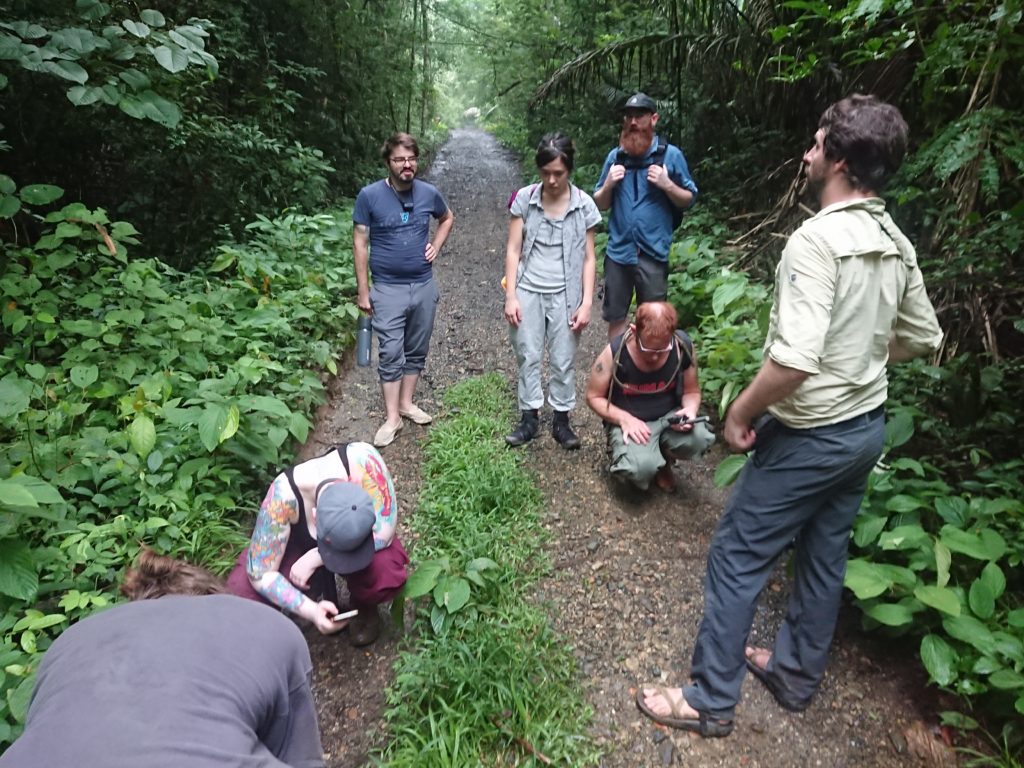
Both Digital Naturalism Laboratories (Dinalab) and Cresolus are concerned with getting researchers access to incredible ecosystems in sustainable ways. We met while repairing bridges on “Pipeline Road” nature park in Gamboa Panama. Pipeline is one of the most heavily researched areas in the past century, but unfortunately, due to bureaucratic disagreements with the local field station and government entities, many parts of this historic field site have fallen into ruin preventing most visiting scientists and conservationists from conducting their work here. We set up our own volunteer initiative to restore access to these field sites using sustainably sourced and upcycled materials (here’s a time-lapse of one bridge we completely rebuilt
While spending days toiling in the hot jungle, on a volunteer initiative to rebuild bridge and trail infrastructure for a historic research and conversation site (Pipeline Road in Panama), Dinalab and Cresolus got to learn about each other’s work in mobile labs and sustainability design. We also got to hear the laments of the field biologists discussing the paradox of how they do field research because they love nature, but that in order to do it, they currently cause lots of pollution in the form of constantly driving back and forth to bring samples from the field to the lab.
This led us to the inspiration that, maybe instead of constantly bringing field samples to the lab, maybe we should bring the lab to the field!
No, we are taking Cresolus’s mobile architecture studios they bring to jungles when building parks and outfitting them with scientific tools. These initial tests proved not only functional, but can help increase productivity! Now we just need to design and test more!
Design Challenges
In our early research (https://dl.acm.org/doi/abs/10.1145/3196709.3196748), we established a hierarchy of needs for labs that starts with
1) Protection
2) Organization
3) Work Surfaces
4) Light
5) Information Access
6) Power
Most people we discuss this challenge with automatically assume that getting power to a mini-modular field station deep in a remote field site would be the biggest challenge, but actually with solar power, pre-charged battery banks, inverters, and sustainable designs (e.g. passive cooling), getting power to the research equipment will not be our main challenge.
Instead the key aspects of the design are creating a modular system that can facilitate the research of many different types of scientists and conservationists while keeping the sensitive tools protected, organized, and easy to work with.
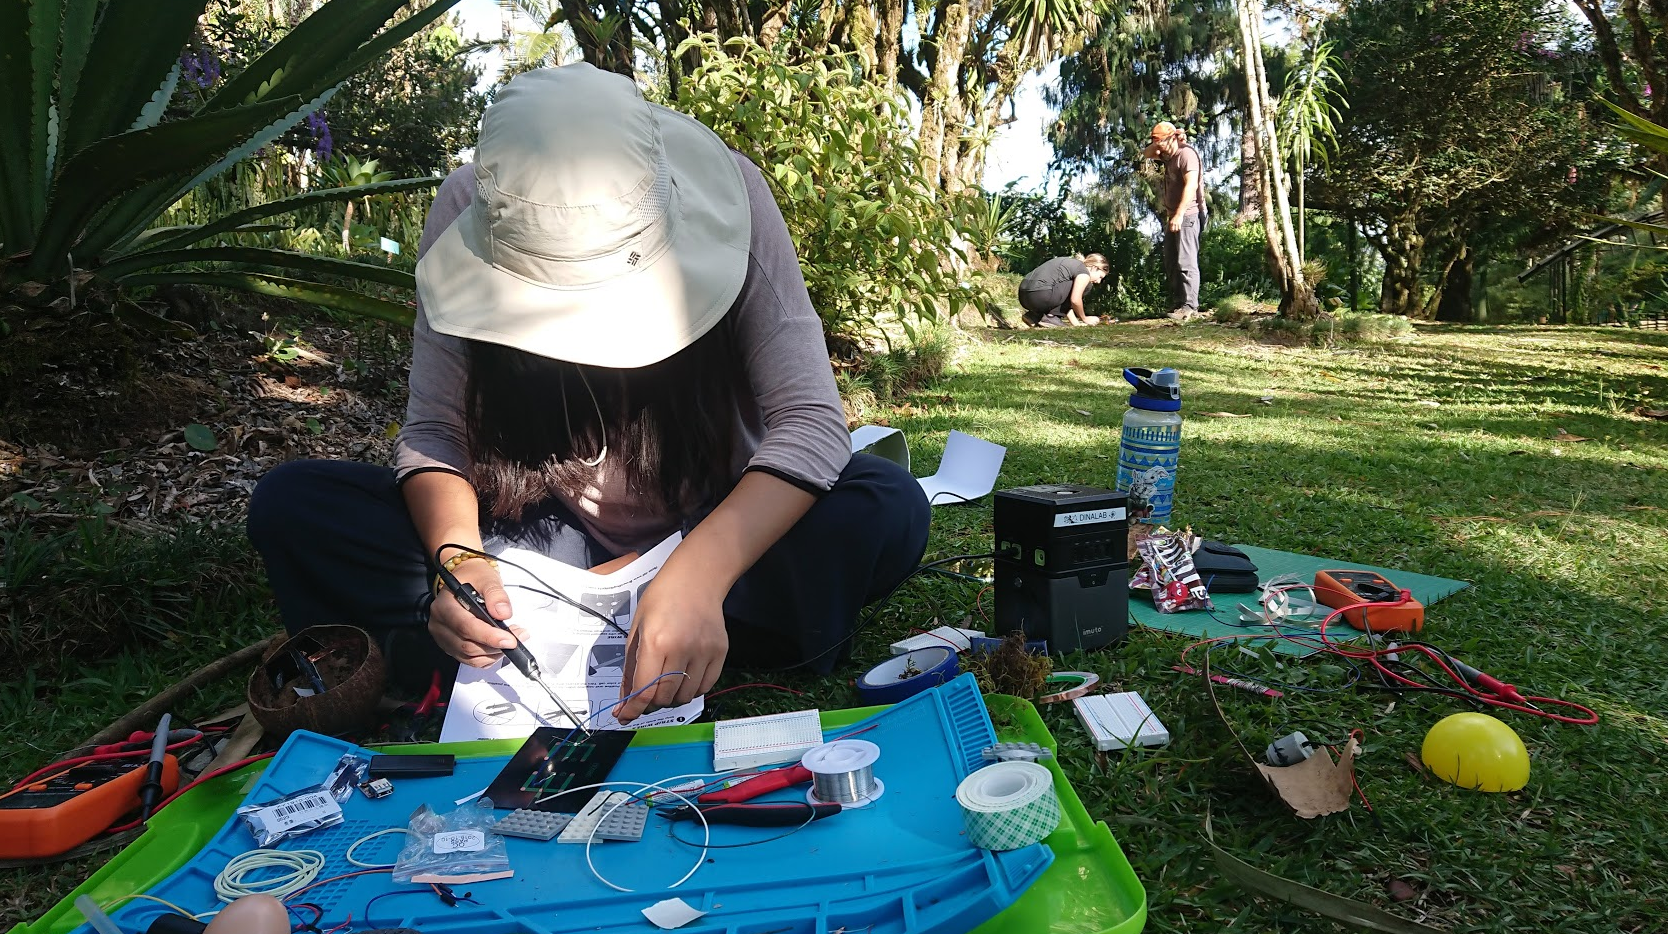
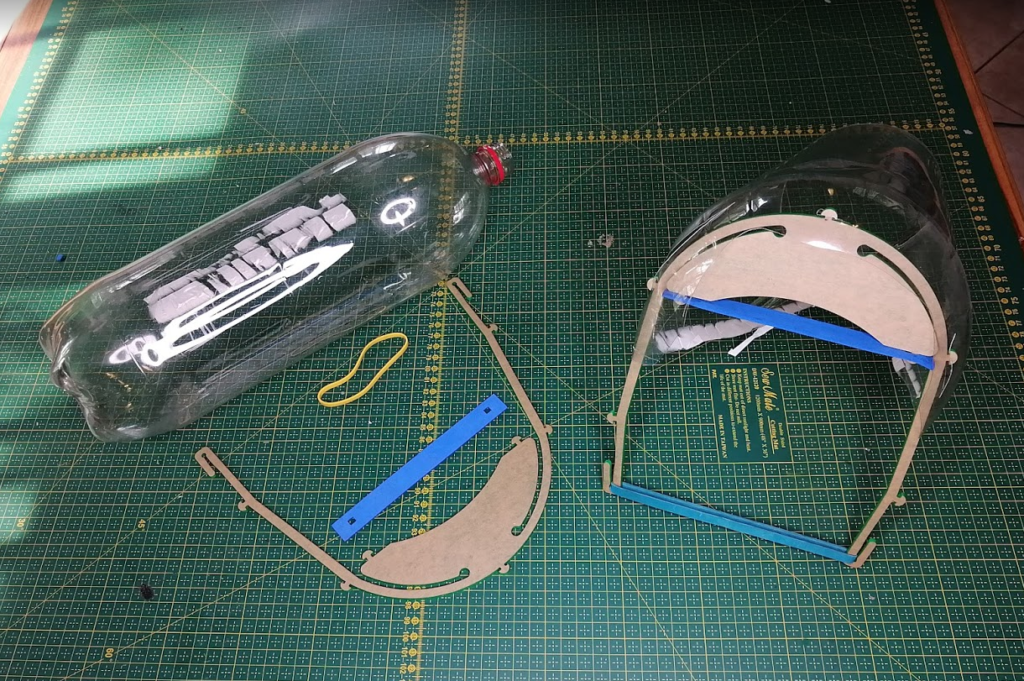
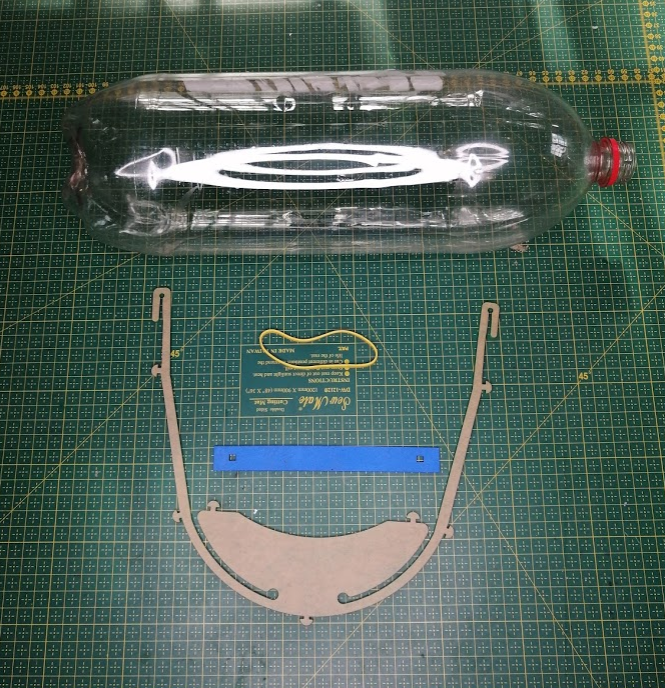
We already have many tested and experimental designs with workstations and lab equipment, for example, that expand from a trailer or pack into modular pelican cases.
Users
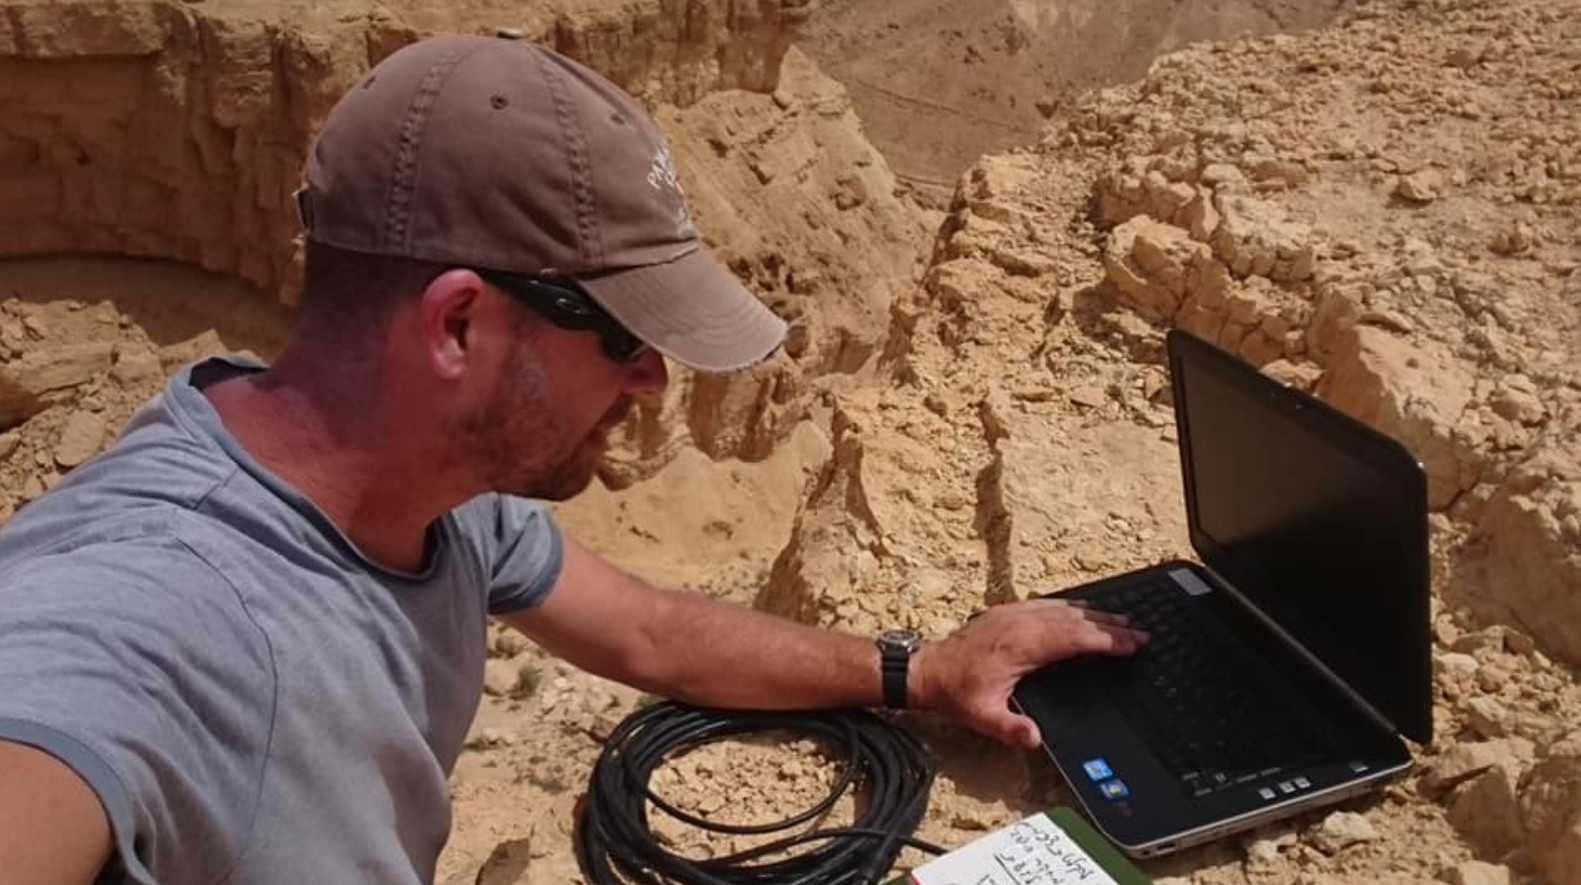
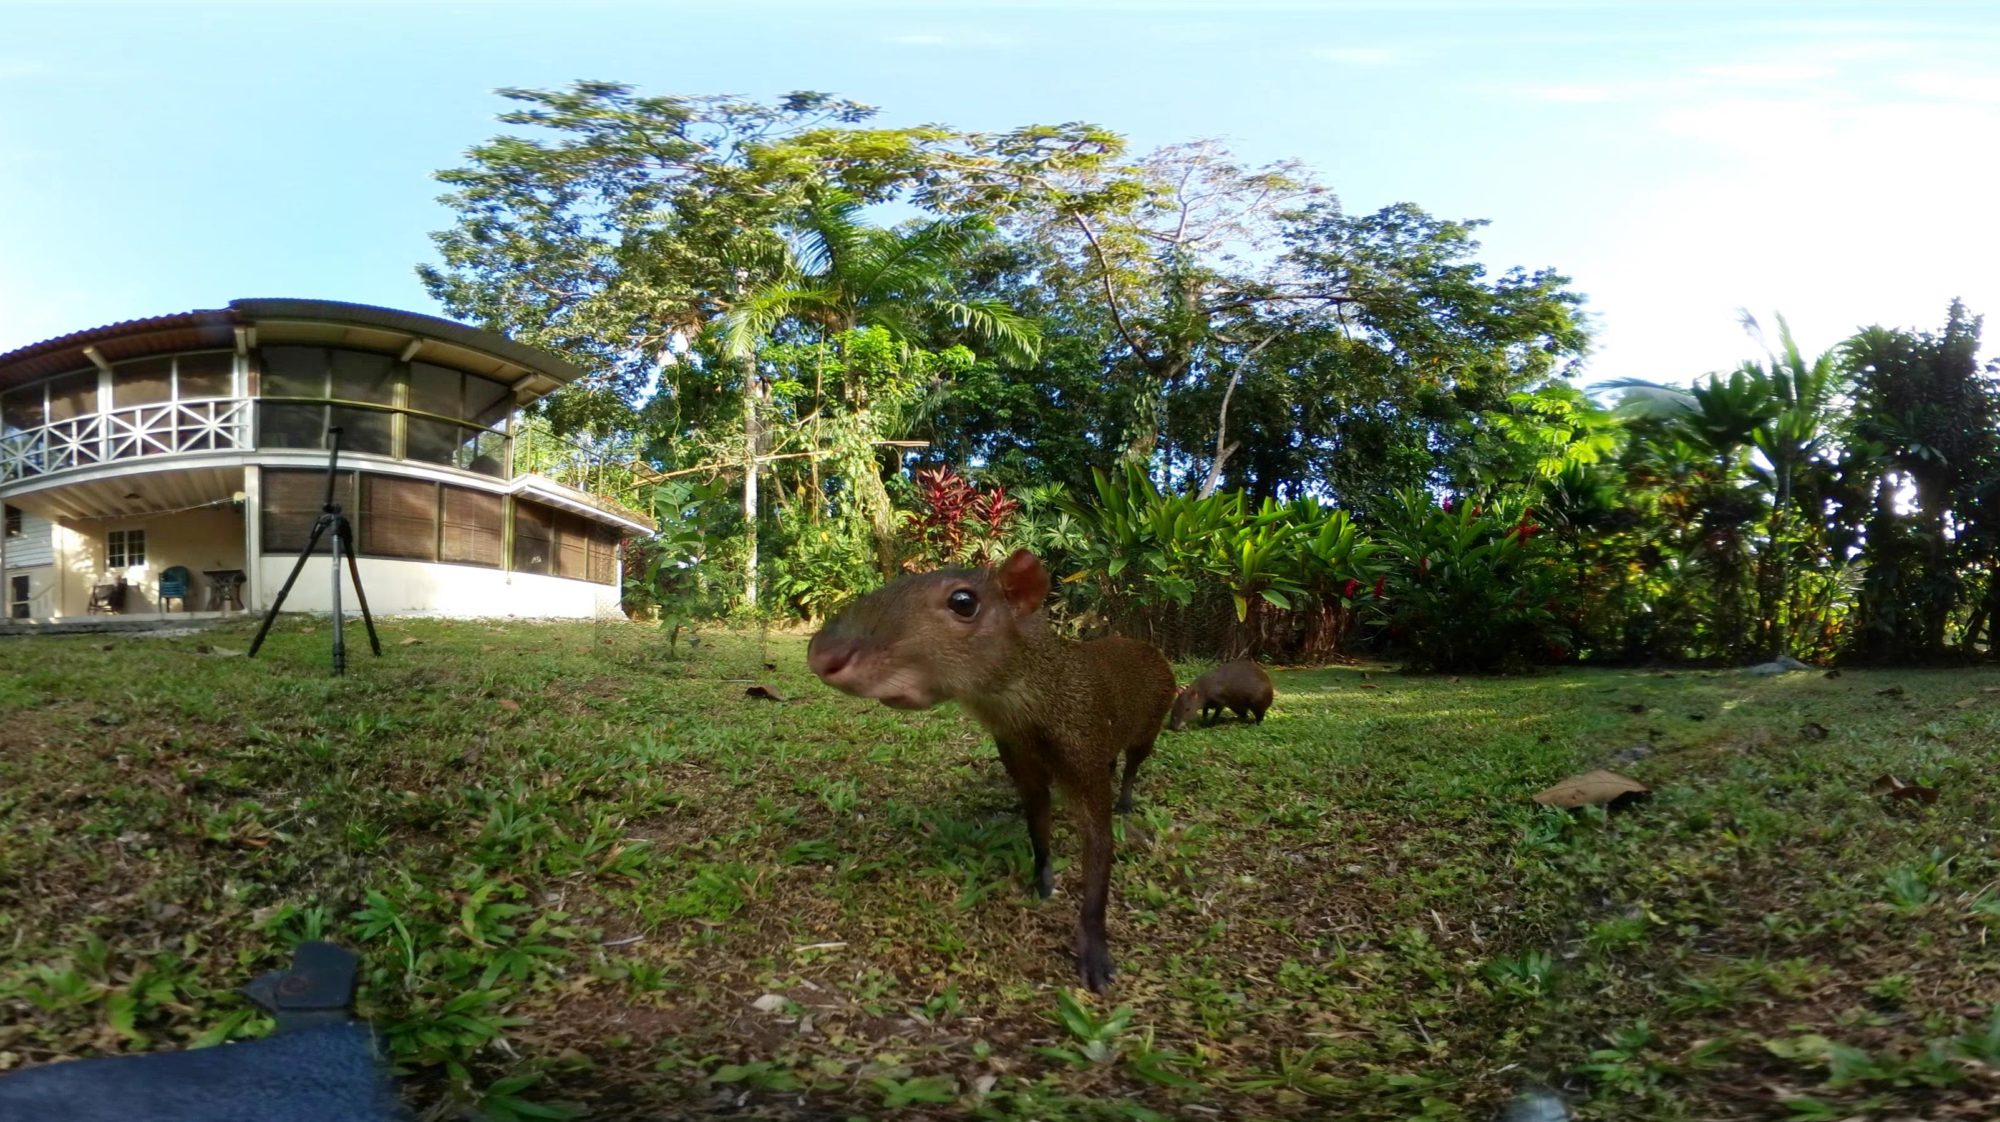
Scientists and Conservationists doing remote fieldwork. Tens of thousands of researchers visit established field stations per year, like the Smithsonian Tropical Research Institution in Panama, but generally still need to travel long distances from the field stations to their field sites. Most of these researchers are forced to spend long days commuting back and forth from the labs at the field station to their sites in the field, and because of the time-sensitive nature of the data they are collecting and samples to be processed, cannot simply stay out for longer durations. Due to the generally treacherous nature of back-country travel, each additional trip also increases the chance of physical or mechanical danger to the researchers and their vehicles.
Instead, visiting researchers will be able to rent our labs and bring them directly to their field sites. There, they can stay, conducting their work, with a modular selection of the laboratory tools they need, and make one final trip after their research has been finished.
Scientists will be able to rent our mobile laboratories and bring them directly to their field sites to conduct and process their work in nature. The pods are designed and tested for rough-terrain to get to off-road sites, and can be loaded onto pontoons to function as floating laboratories in aquatic environments. We also offer services to deliver the pods into the research sites for the scientists, and pods are made to perfectly fit in shipping containers to they can be used anywhere around the world.
Costs
The environment bears most of the cost currently that we hope to address. At a time when fuel costs are absurdly cheap and biology and conservation budgets are small, many researchers feel forced to carry out their work the traditional ways, meaning lots of travel back and forth to field sites. The damage caused is not only from the drilling to extract the fossil fuels, or the pollution strewn across the target environment, but the constant back-and-forth travel disrupts the ecosystem and introduces noise-pollution which may impact the studies the researchers hope to conduct in the first place.
Additionally, many existing laboratories and field stations are still heavily dependent on fossil-fuels. Our pods, on the other hand, will be equipped with renewable power sources or pre-charged from our solar arrays.


Similar Projects
Mobile labs are not a completely new concept. Many research ships function like this already (famously like Jacques Cousteau’s floating labs), and other designers/researchers have launched similar projects such as Marko Peljan’s “Makrolab,” a modular lab that could fit into shipping containers and shipped around the world.
Other projects we know of include Steven Roberts’s “Nomadic Research Labs”, Marko Peljan’s Makrolab prototype for a mobile art and science workstation, The Hackteria Network’s outdoor DIY art-science workshops, American Arts Incubator’s “Waterspace” Project building a floating art-science makerspace, Jacobs and Zoran’s work with mobile digital craft labs and hunter-gatherer tribes in the Kalahari, and the Signal Fire Arts and Activism Residency that doubles as a backpacking trip.
Unfortunately, many scientists, especially small research groups, or grad students lack the funding needed to invest in such larger infrastructure. Our pods are customized with equipment for the individual researcher or small group and delivered to the field at minimal costs. Cresolus, as an established sustainable architecture firm working in national parks around the world, already has offices and the ability to make and deliver these pods to the field sites already used by many researchers in Central America and Africa.
Moreover, all our designs will be open-source, so researchers can further add on to the designs we have and contribute to better mobile labs for everyone.
What are your Team’s primary work tasks and activities over the next 3-6 months? (optional)
We already have functioning prototypes tested with scientists in key research areas (Pipeline Road). Our goals for the very next stage of the project are to do another round of more formalized testing and evaluation and to develop further features to add to the pods’ designs.
We aim to enroll existing scientist clients such as such as Dr. Rachel Page’s Bat Lab with the Smithsonian Tropical Research Institute, and Corey Tarwater’s Avian Ecology lab from the University of Wyoming who both do extensive field work on Pipeline road. We will provide their researchers with reduced rate use of the pods.
Modular features that we intend to design into the projects that we will be working on over the next several months include:
-Mesh networking
-Safety equipment/signaling
-Sterile lab
-Expandable Flight Cages
-Dry ice storage / Peltier Coolers
-Expandable work stations
-Built in 360-camera traps / Acoustic monitoring
What are your project needs over the next 3-6 months in terms of resources, skills and knowledge? (optional)
To complete our next steps, we primarily need a little bit of funding to carve out some design time between our two organizations to dedicate to further develop the prototypes we already have.
We already have most of the materials, electronics, field sites, and evaluators available, we just need time to put these together and continue testing and sharing these designs.
What are your project goals?
For the very next stage of our project our main goal is to get one of these pods functional and consistently rented out to different researchers visiting our field sites over the next year.
Our longer-term goal is that within two years, we will have three of these pods available at the different field sites Cresolus works in, such as Gabon, or Belize.
Finally, we hope that within 5 years, we will have had and documented enough uses of these mobile laboratories that the idea of renting them out has become commonplace within research communities. We will have many pods available for conservationists and biologists around the world, and other organizations will replicate many of the ideas we have shared and tested.